Building your own desktop PC might seem daunting, but it’s more accessible than you think—if you can use a screwdriver and follow simple instructions, you’re ready to go. Like assembling flatpack furniture, the process is straightforward, and you get the added satisfaction of customizing your build to suit your needs.
This guide provides the context to help you select the right components and assemble them into a functional, mainstream gaming PC. While no guide can cover every situation, you’ll gain the essential knowledge and confidence to tackle your build and tailor it to your budget or preferences.

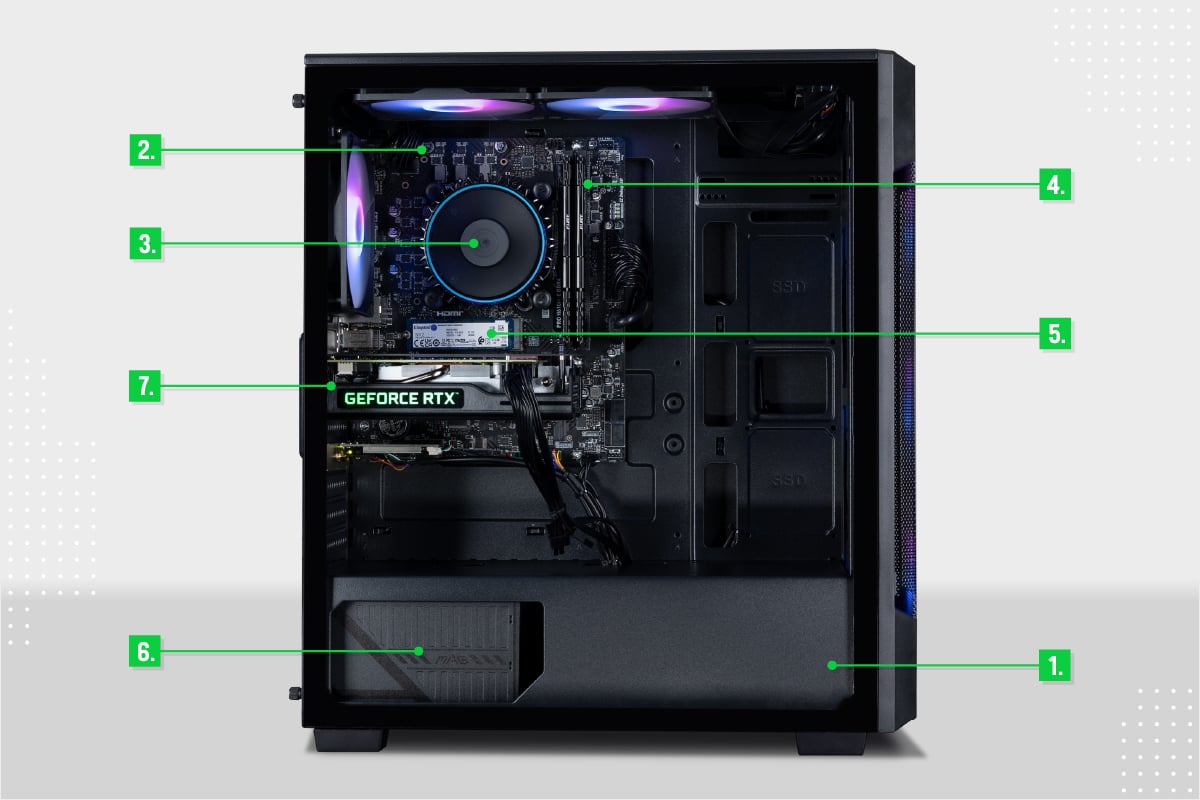
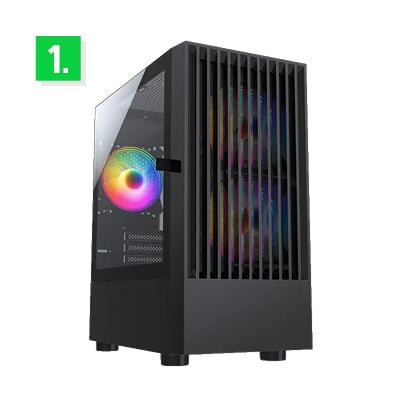
The PC Case
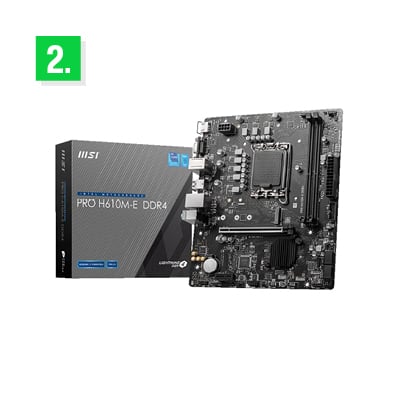
The Motherboard
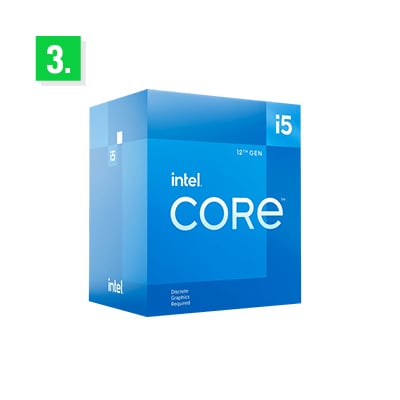
The CPU and CPU Cooler
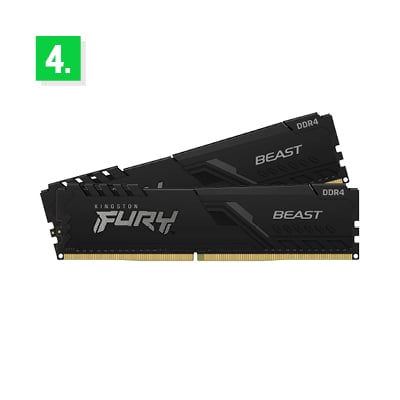
The Memory Kit (RAM)
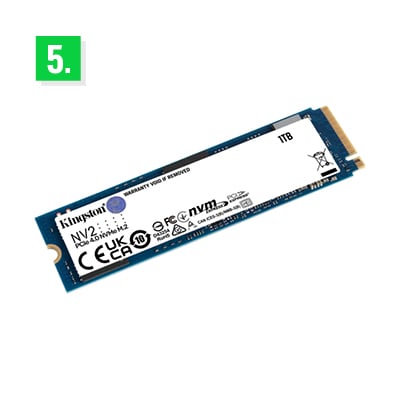
The Storage: SSDs and Hard Drives
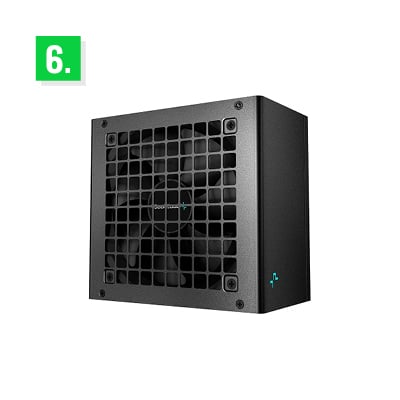
The Power Supply (PSU)
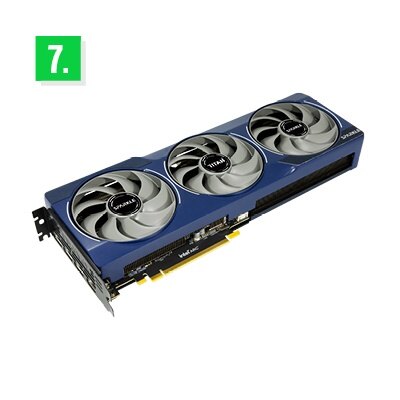
The Graphics Card (GPU)
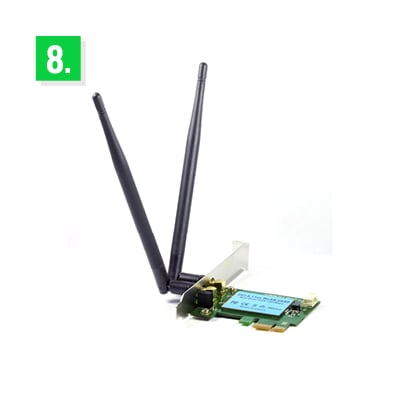
Networking
Operating System
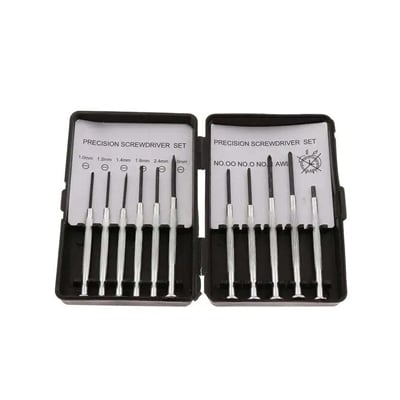
Screwdriver set (a Phillips-head screwdriver is essential)
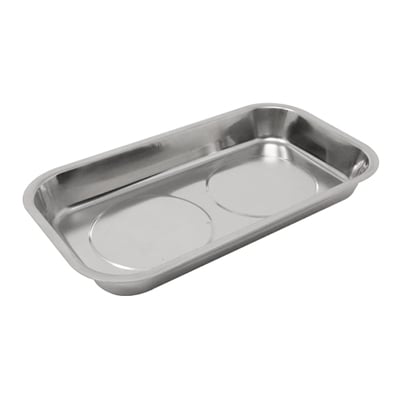
Magnetic tray (to hold small screws)
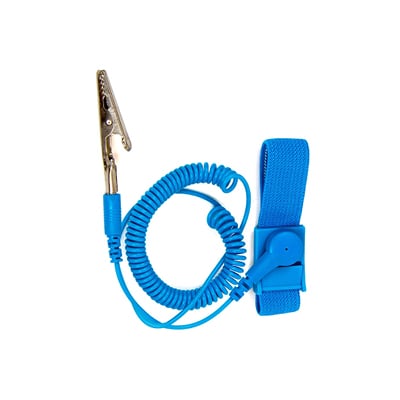
Anti-static wrist strap (optional but recommended to avoid static damage)
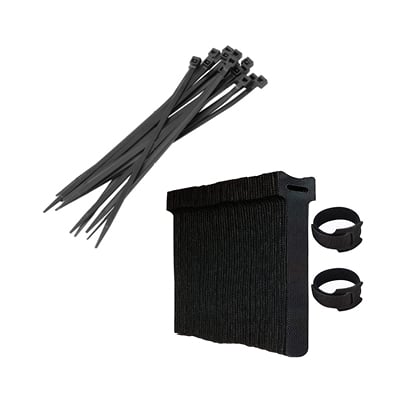
Zip ties or Velcro straps (for cable management)
1. Open the socket: Lift the small metal lever next to the CPU socket.
2. Align the CPU: Carefully align the CPU so its notches match the socket (it will only fit one way).
3. Place the CPU: Gently lower it into place – no need to force it.
4. Secure the CPU: Lower the metal lever back down to lock it.
1. Open the slots: Push back the clips on the RAM slots.
2. Align the RAM sticks: Match the notch on the RAM stick to the slot.
3. Insert the RAM: Firmly press the RAM into the slot until the clips snap back into place.
Tip: Make sure the RAM is fully seated – it requires a bit of force.
1. Apply thermal paste: Place a small pea-sized dot of thermal paste on the center of the CPU (if the cooler doesn’t already have it pre-applied).
2. Place the cooler: Position the cooler over the CPU.
3. Secure the cooler: Tighten the screws evenly until snug (but don’t overtighten).
1. Remove the M.2 cover: Unscrew the cover or heatsink.
2. Insert the SSD: Slide the SSD into the slot at a slight angle.
3. Secure the SSD: Gently press it flat and screw it into place.
4. Replace the cover: Reattach the heatsink if necessary.
1. Prepare the case: Remove the side panels for easy access.
2. Install standoffs: Ensure standoffs align with the motherboard screw holes.
3. Install the IO shield: Snap the IO shield into the opening at the back of the case.
4. Mount the motherboard: Carefully place the motherboard into the case and screw it onto the standoffs.
1. Connect front panel cables: Attach power, reset, and USB headers to their labeled motherboard ports.
2. Refer to the manual: Use the motherboard manual to identify correct pins.
1. Position the PSU: Place it into the bottom compartment of the case.
2. Secure the PSU: Use screws to mount it.
3. Connect cables: Attach the 24-pin cable (motherboard), 8-pin CPU power, and GPU power cables.
1. Mount the fans: Attach fans to the case (front for intake, back for exhaust).
2. Connect fan cables: Plug them into motherboard fan headers.
1. Remove PCIe covers: Unscrew covers in the case where the GPU will go.
2. Insert the GPU: Push the card into the PCIe slot until it clicks.
3. Secure the GPU: Screw it into place.
4. Connect power cables: Attach any required PCIe power cables to the GPU.
1. Organize cables: Use zip ties or Velcro straps to bundle and route cables neatly.
2. Replace panels: Put the backplate and side panels back onto the case.
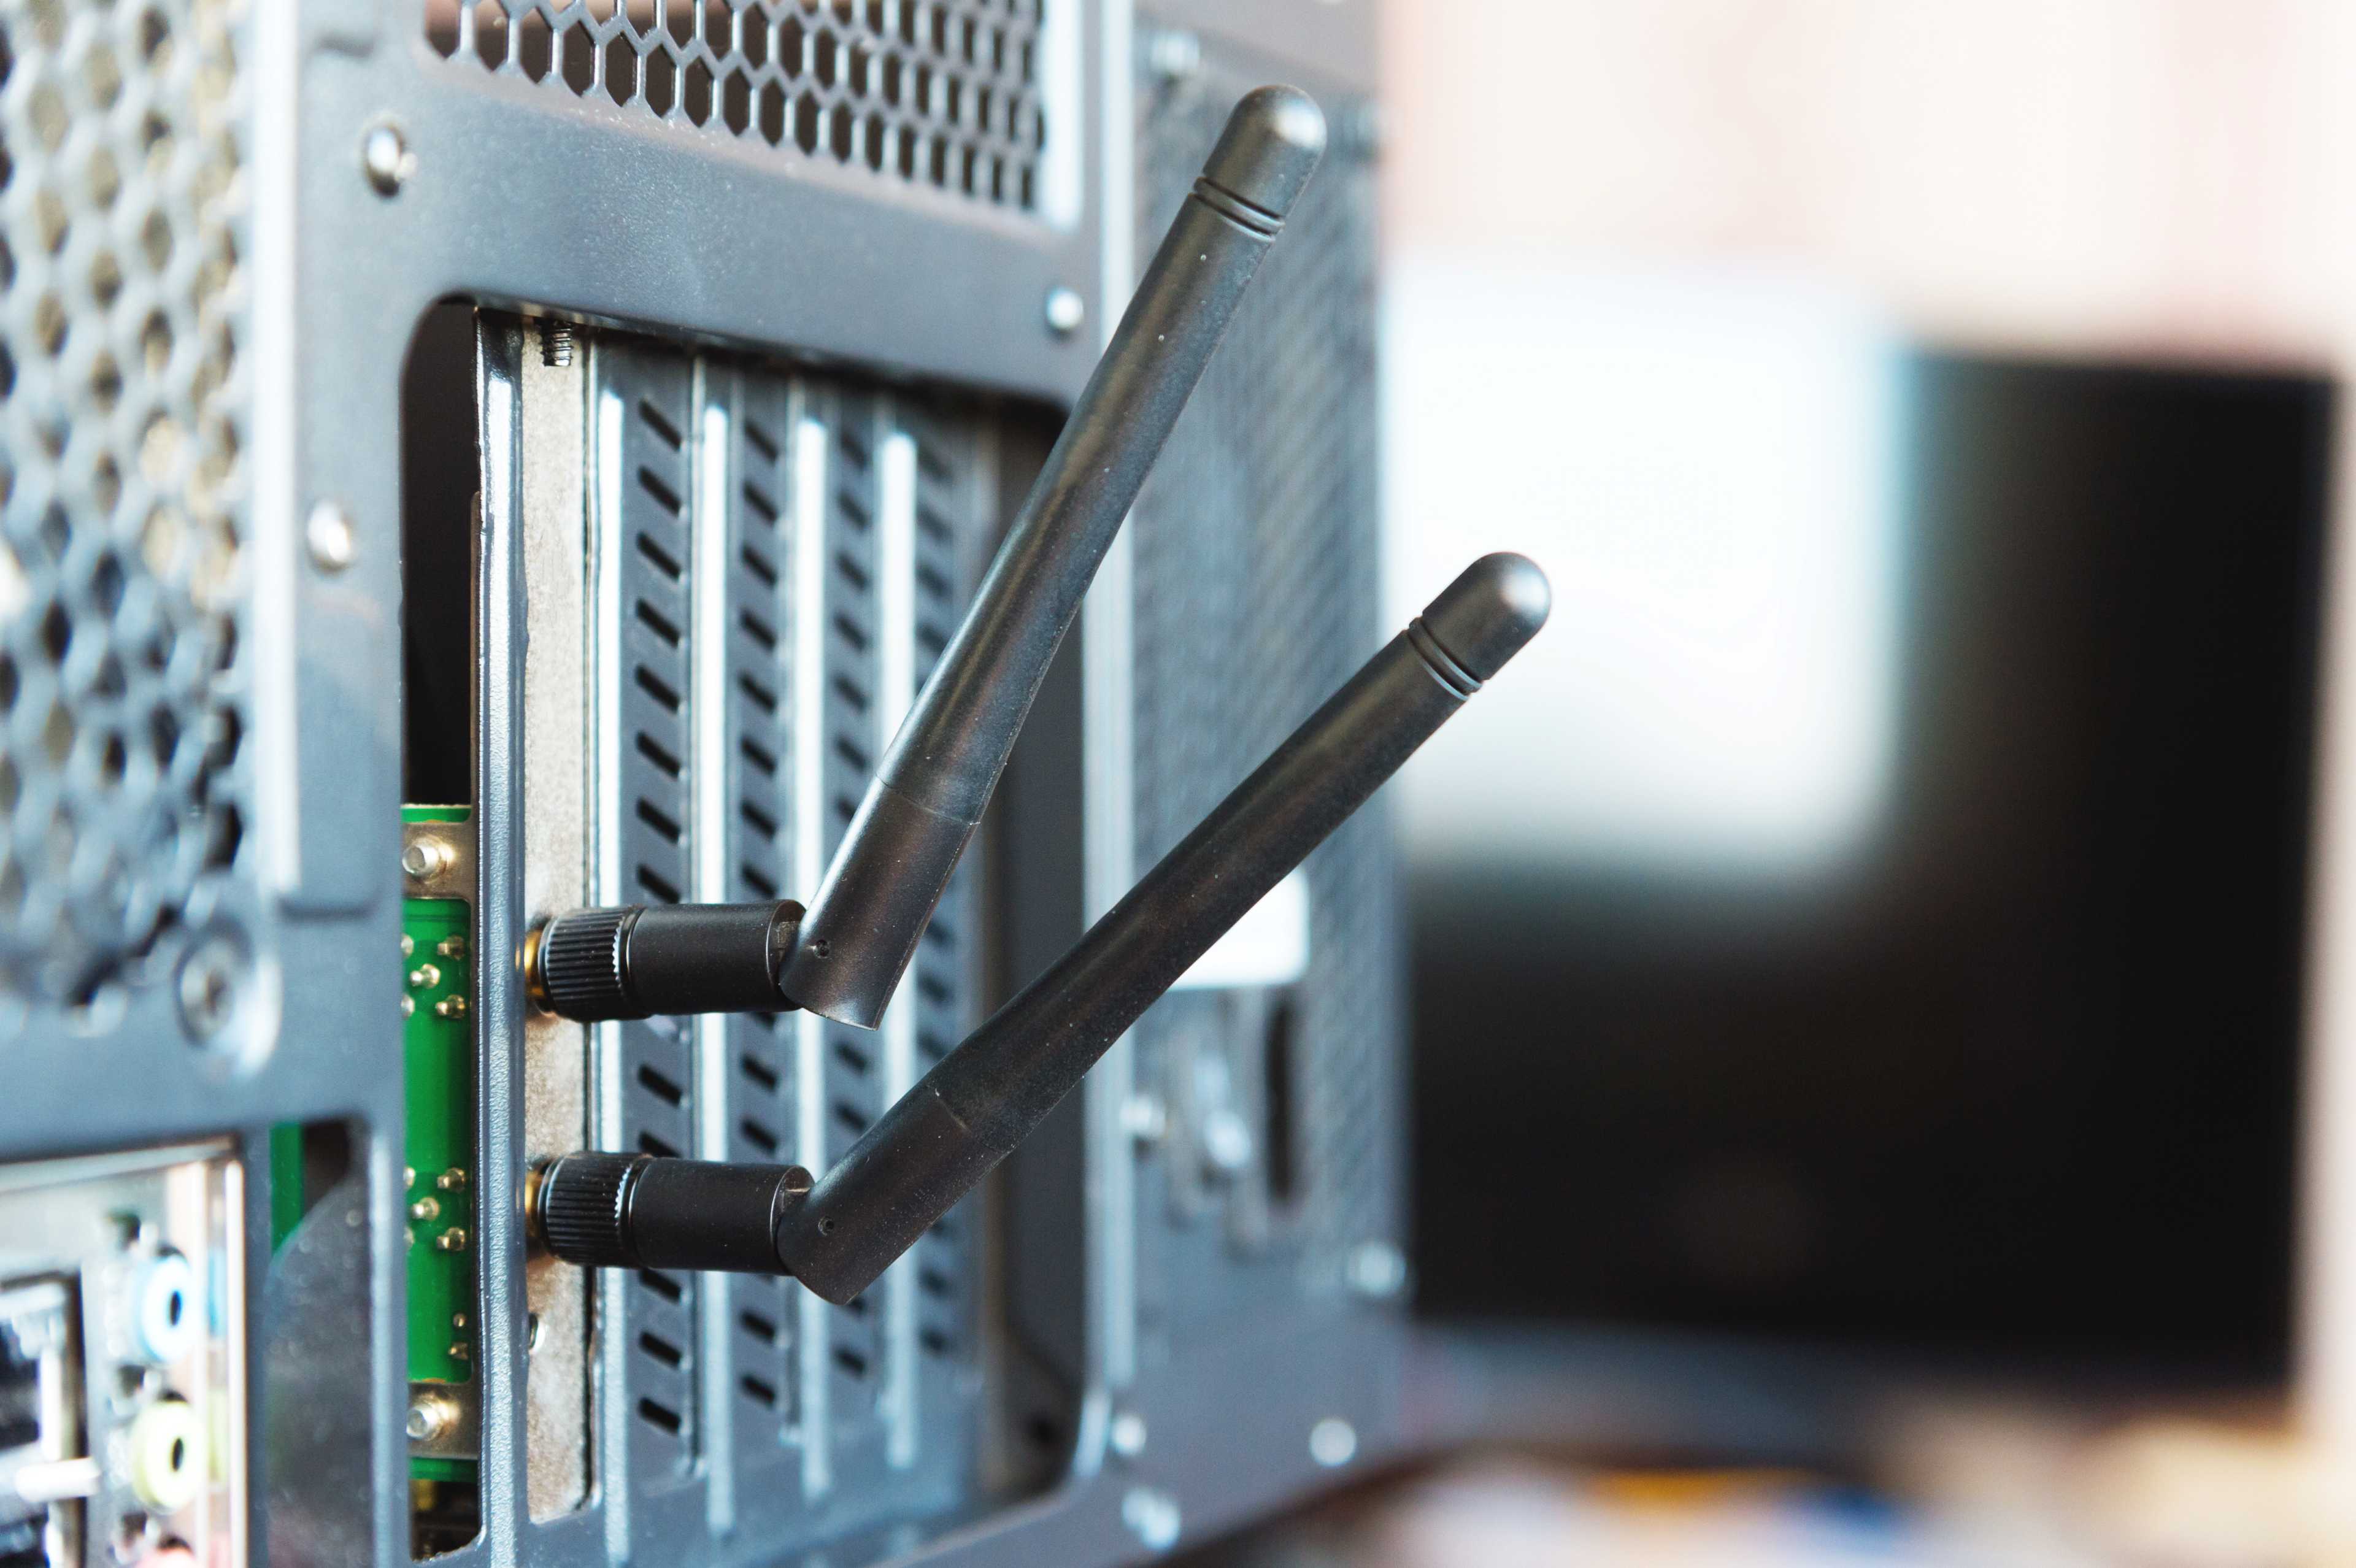
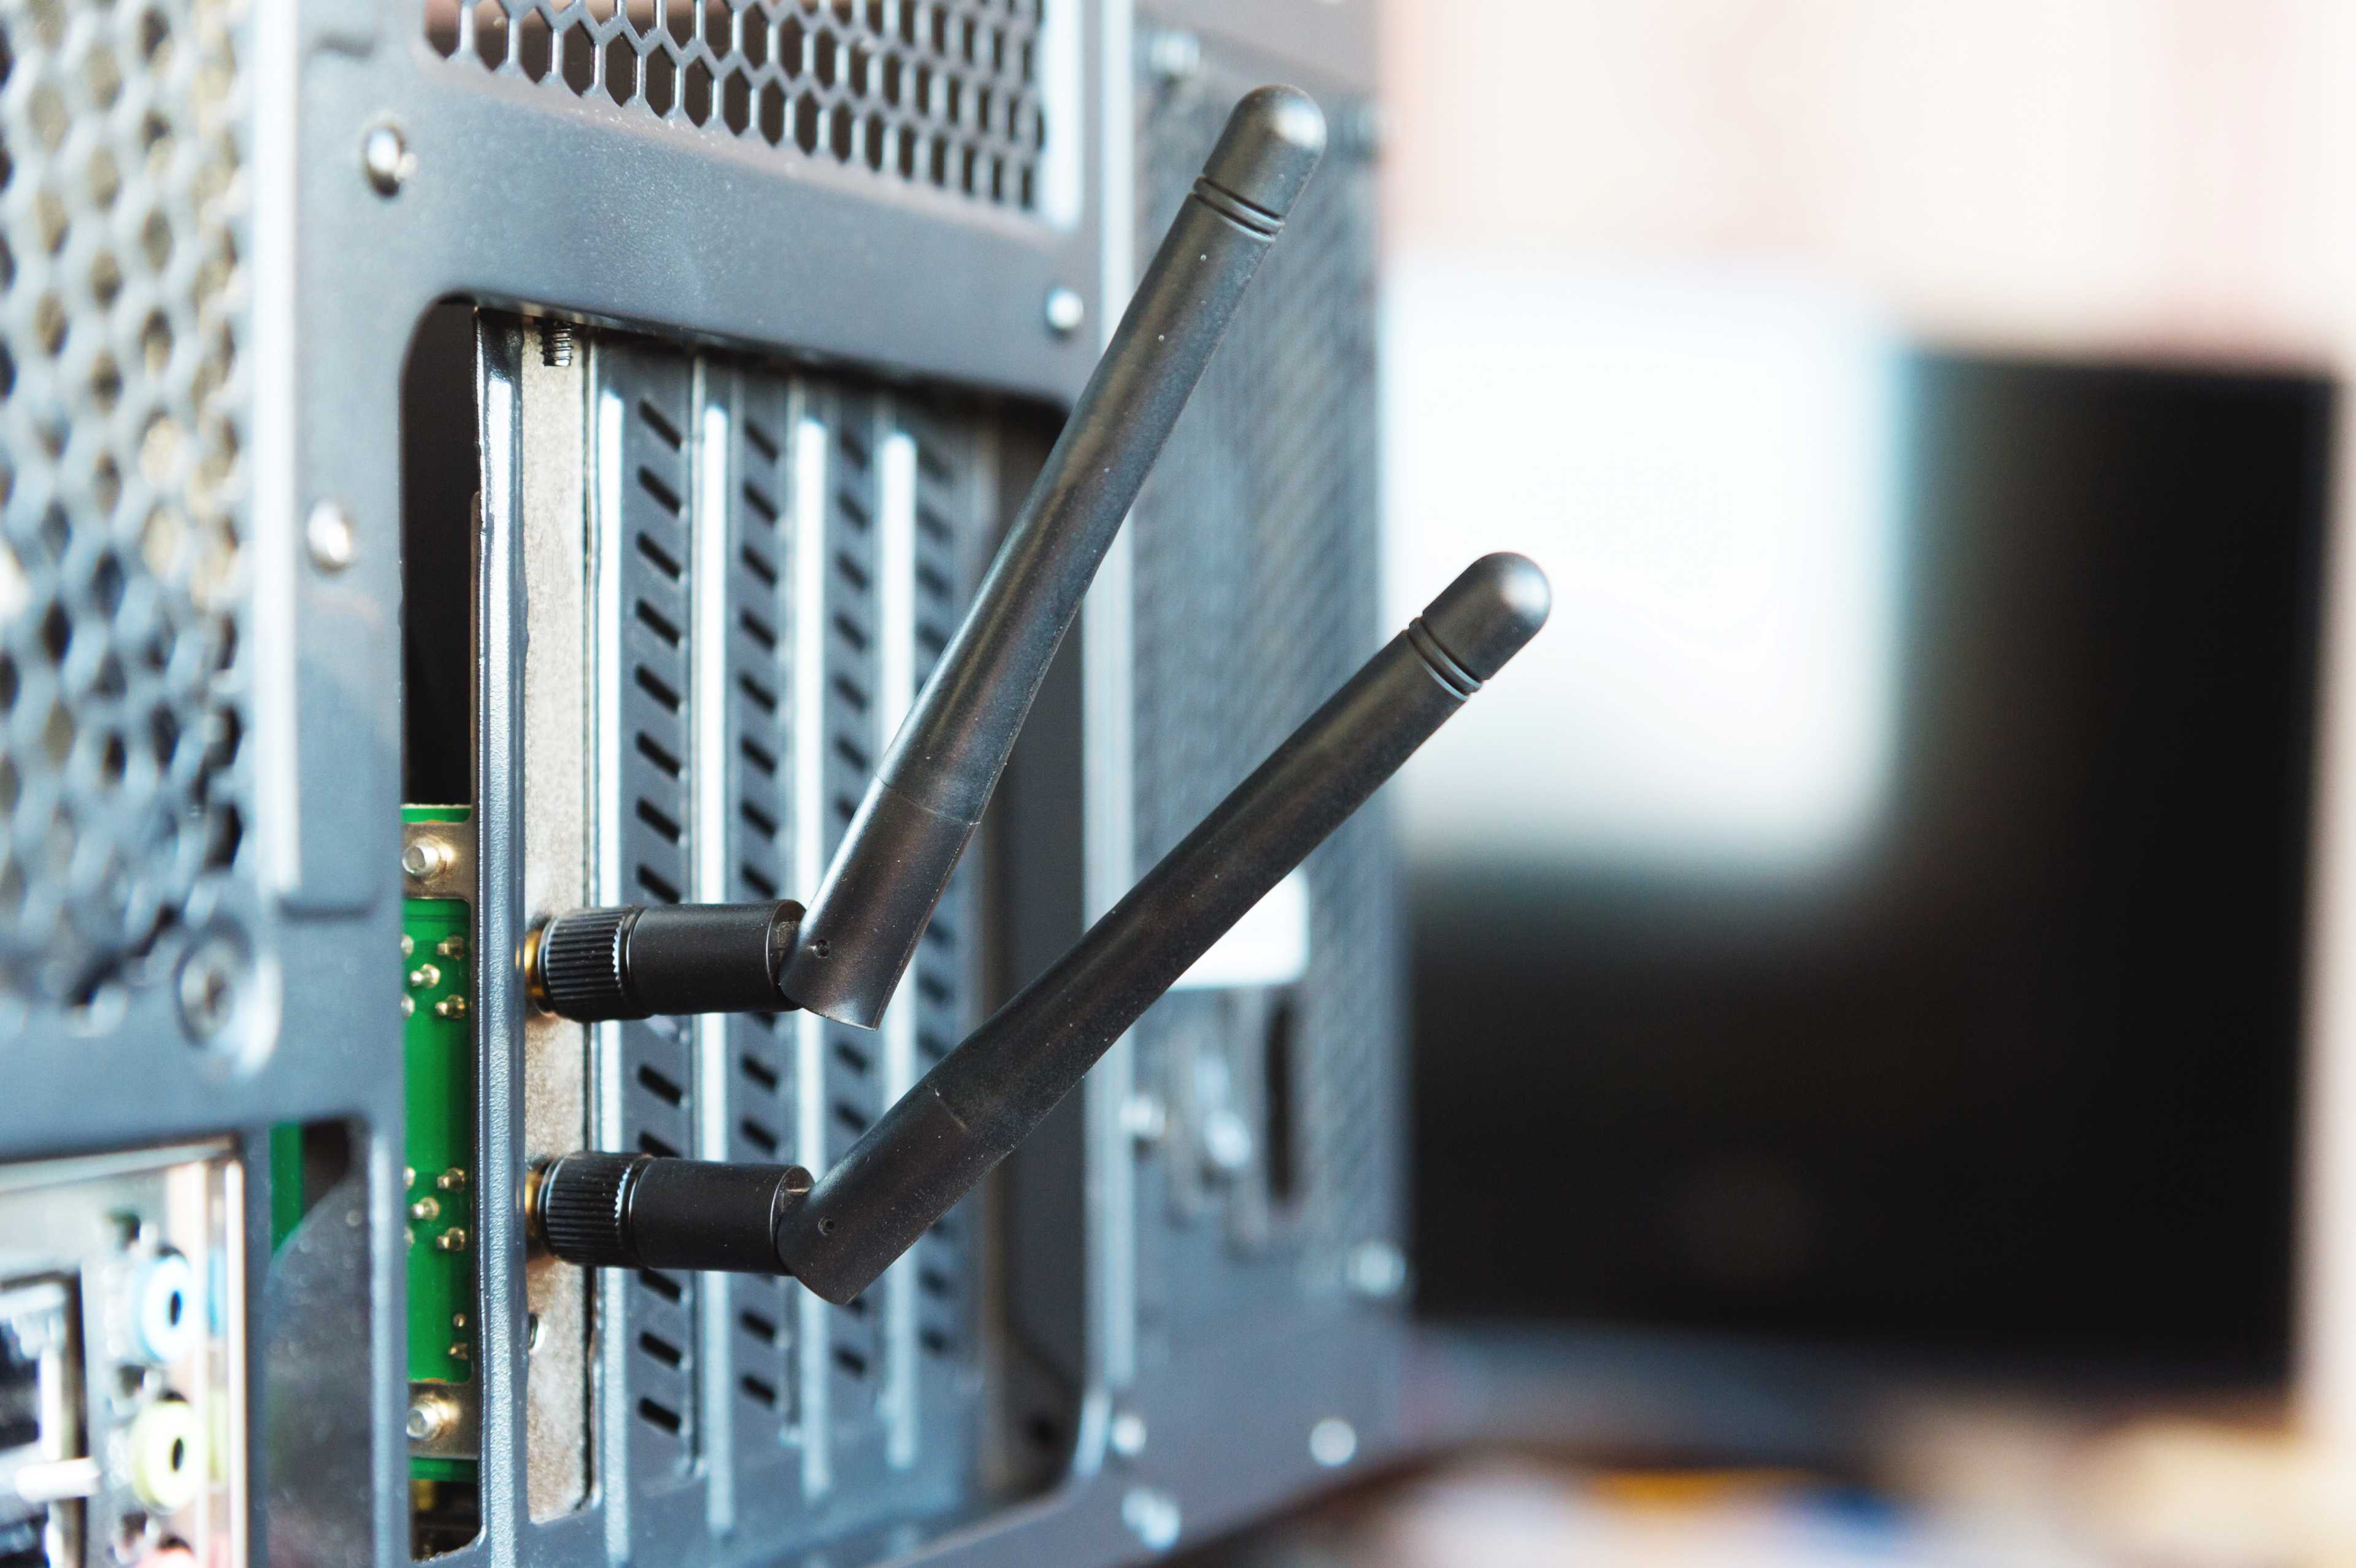
1. Plug in the adapter: Insert the USB Wi-Fi adapter into a rear USB port.
2. Ensure it works: Check if the system detects the adapter once powered on.
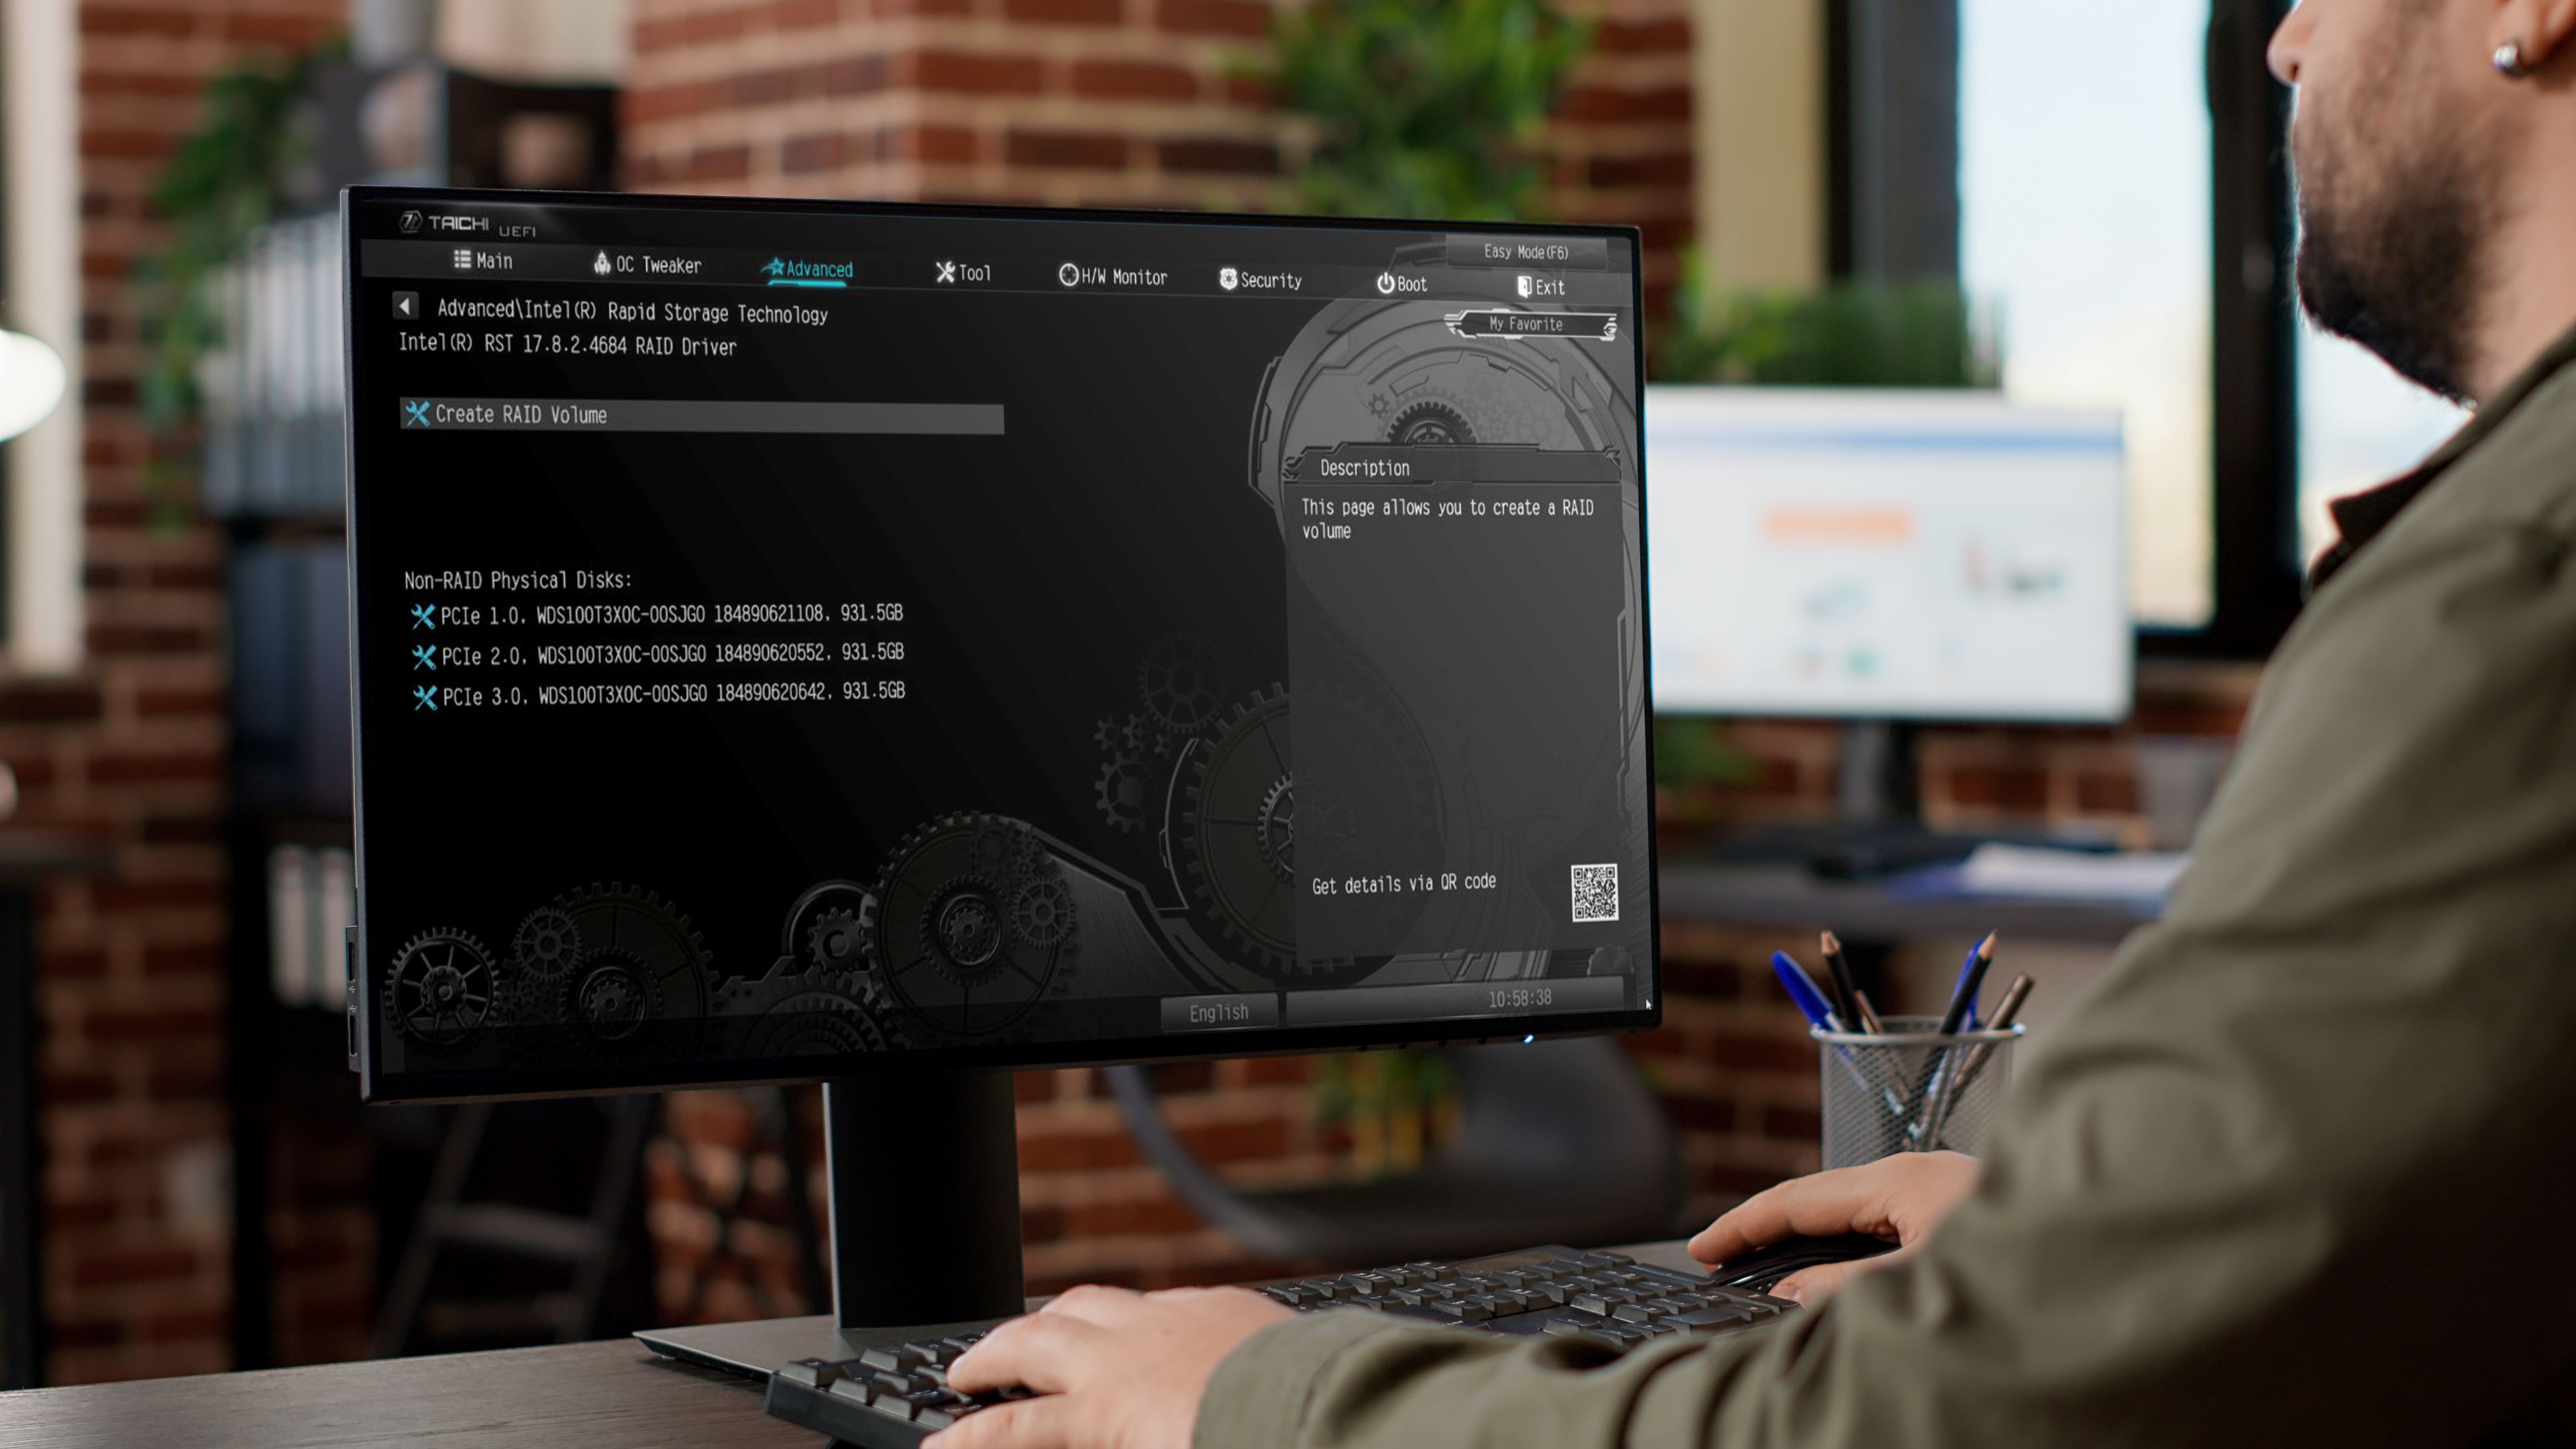
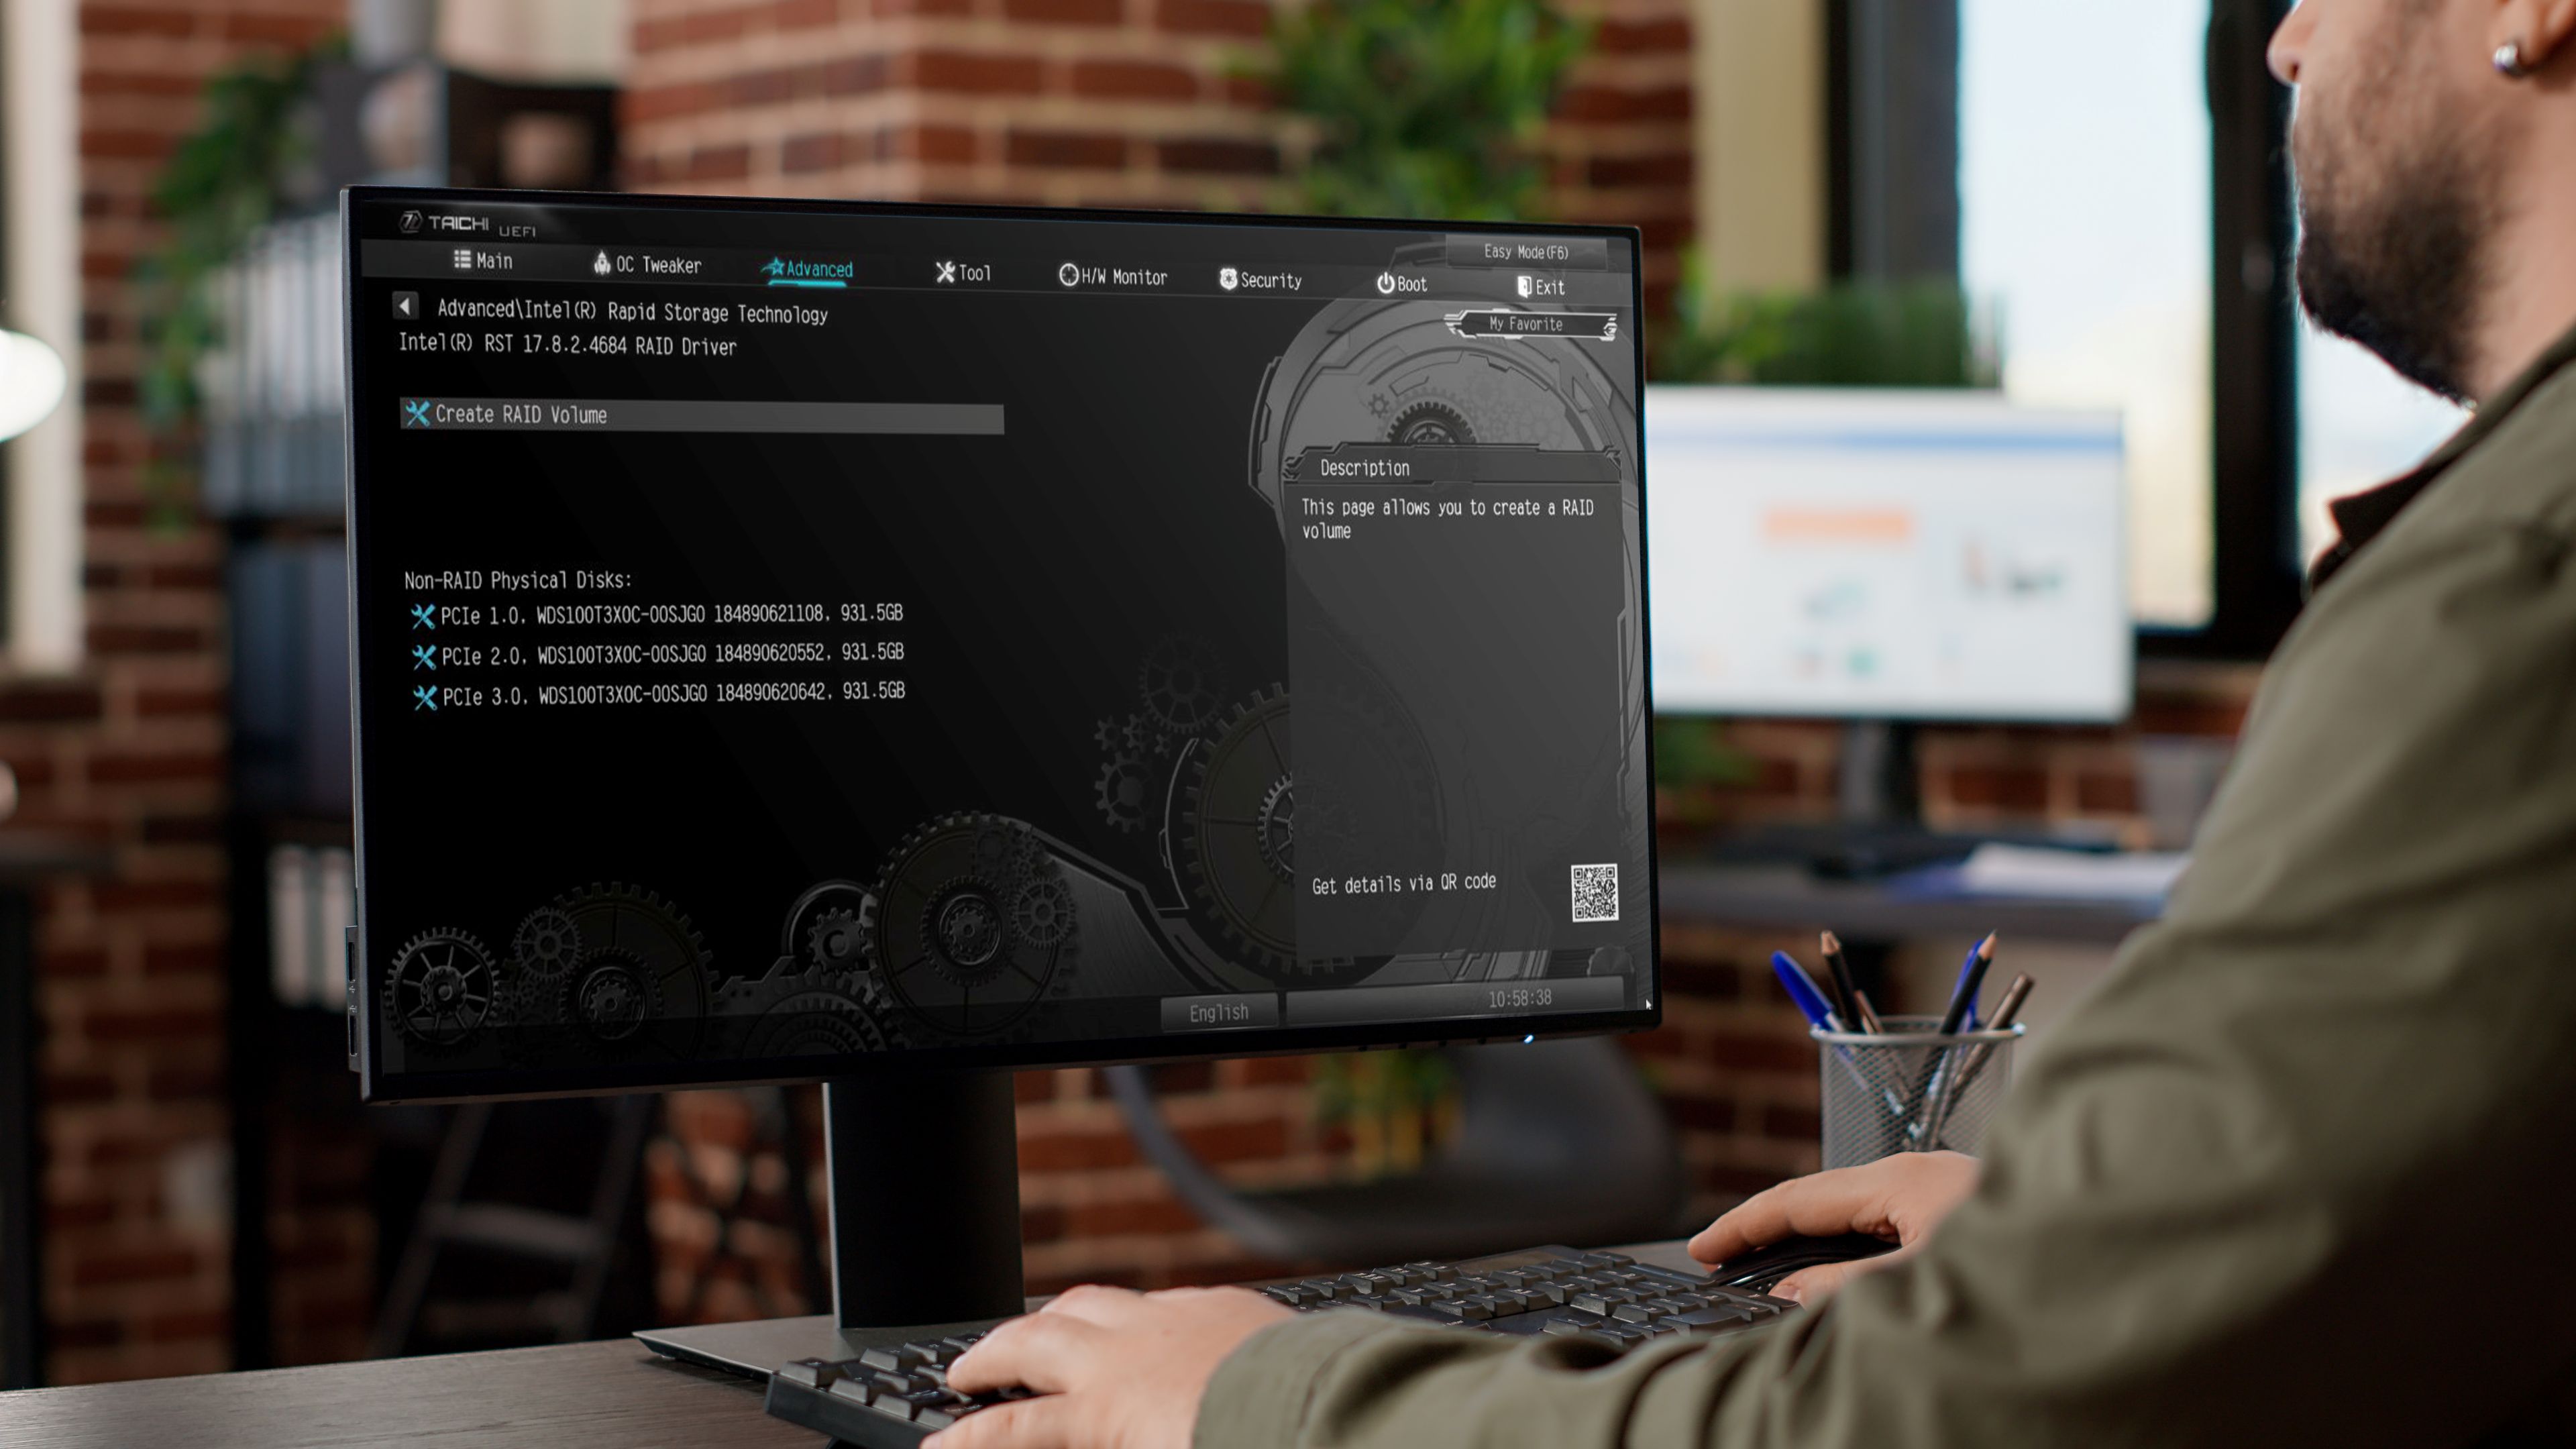
1. Turn on the PC: Press the power button.
2. Listen and observe: Check for unusual noises or lights.
3. Enter BIOS: Press the BIOS key (usually DEL or F2) and ensure all components are detected.
If everything is working, install Windows 11 Home using the USB drive. Follow the on-screen prompts, install drivers for your GPU, motherboard, and Wi-Fi adapter, and you’re good to go!
Congratulations! You’ve successfully built your own gaming PC. Enjoy your new rig and happy gaming!